

I. Concept of Detail Drawing
To produce a machine, equipment, or an entire production line, several steps must be undertaken. It starts with the design concept ⇒ Assembly drawing design (2D or 3D) ⇒ Creating the detail drawing (also called detail drawing) ⇒ Processing ⇒ Assembly ⇒ Inspection ⇒ Packaging ⇒ Implementation.
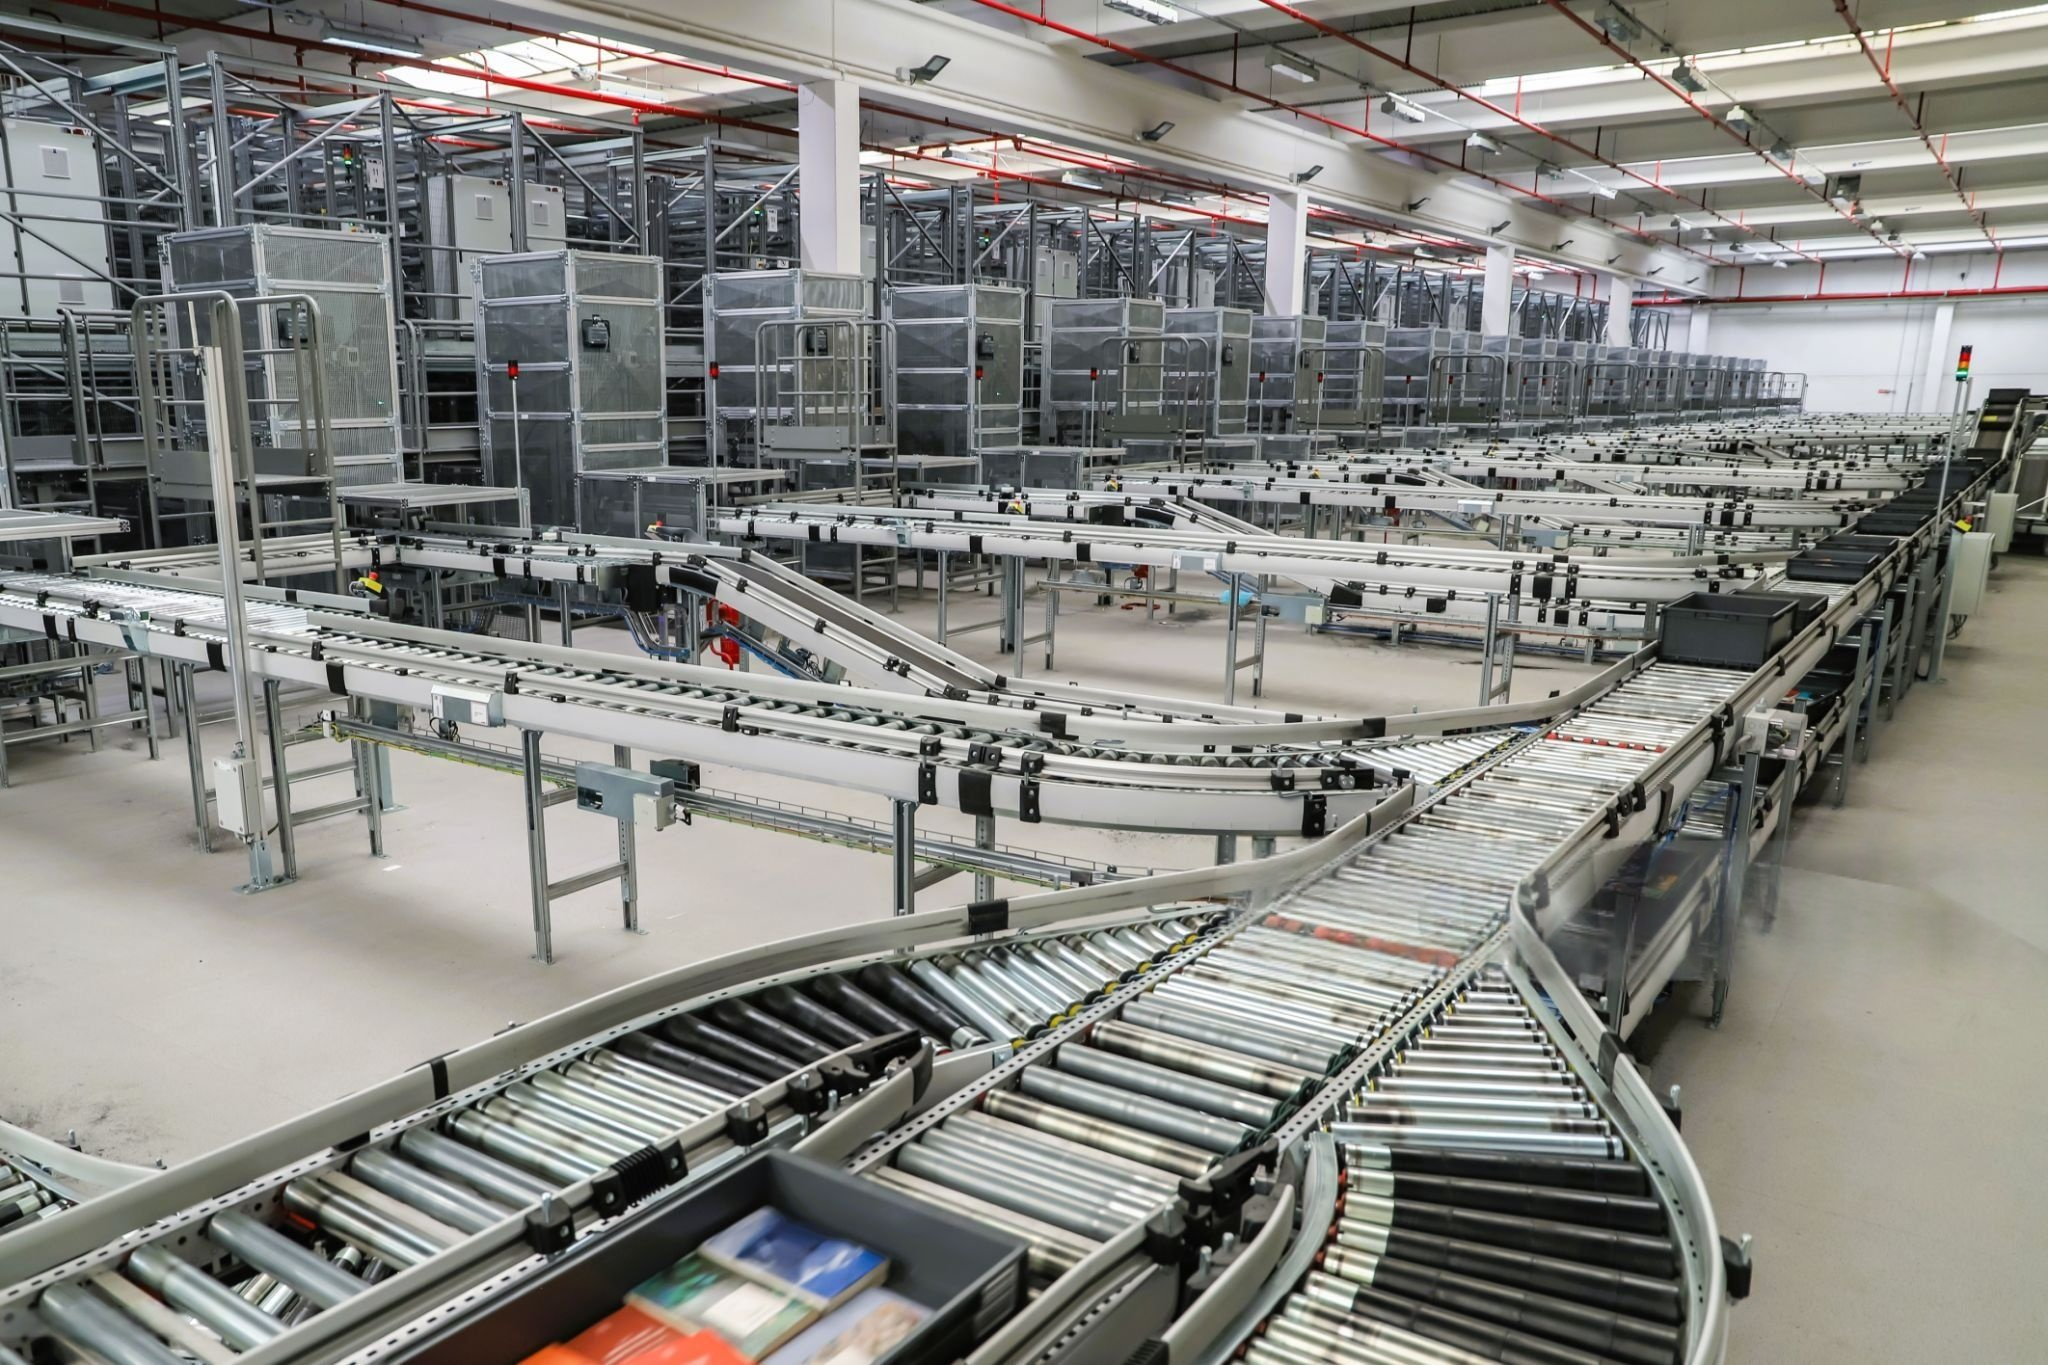
 Design staff at IDEA performing detail drawing tasks
The task involves extracting components from a 2D or 3D assembly drawing into a new drawing frame, recording all dimensions, tolerances, machining, symbols, etc., into a complete detail drawing. This work is referred to as detail drawing.
Thus, the detail drawing process is very important. This work is considered detailed design. The detail drawing after the detail drawing process will be sent for manufacturing. The quality, accuracy, and functionality of the component depend significantly on the precision of the detail drawing. For example:
- Incorrect dimensions will prevent assembly.
- Inappropriate tolerance values might also hinder assembly.
- Improper roughness indicated on the component will affect its functionality and may lead to defective products, resulting in poor quality.
- Other influencing factors.
II. Basic Knowledge Required Before Detail Drawing
*Material of the Components: The most commonly used materials for components are types of carbon steel, SUS, aluminum alloys (collectively referred to as aluminum materials), and various plastics such as POM, Nylon MC, PET, etc. Additionally, there are other types of materials.
III. Detail Drawing Guidelines
3.1. Customer Standards
When performing any tasks related to an order, the first step is to carefully read the standards. Understand all contents within the customer’s standards provided.
3.2. Drawing Frame (Template)
A drawing frame is essential for detail drawing. Before starting, if a drawing frame has not been provided, project management must be requested to supply one.
For 3D design software such as SolidWorks, Inventor, Catia, Creo, when changing the drawing frame or scale, updates happen automatically, which is quite easy, and attributes will also change automatically.
In 2D design software like AutoCAD, Icad, BricsCAD, changing the drawing or scale does not update automatically (except for pre-installed modules), so manual replacement is necessary. Some attributes will not update automatically, which requires special attention. When changes are made, all properties must be adjusted to match the current drawing frame.
3.3. Layer Standard Regulations
Each customer usually has specific layer regulations, and when working, it is crucial to adhere to the layers specified by the customer. Generally, in 3D design software, layers are pre-established, and during detail drawing, automatic changes occur as long as the correct customer-provided template is used. In contrast, for 2D design software, one must follow the customer’s layer regulations.
Layer standards vary according to each order and depend on the customer. Basic layer types include:
- Outer contour layer: solid line (outline), typically thickness of 0.25 to 0.3mm.
- Hidden line layer: dashed line (hidden line), typically thickness of 0.18 to 0.2mm.
- Center line layer: dotted line (center line), usually thickness of 0.13 to 0.15mm.
- Dimension line layer: thickness equal to that of hidden line layer. Text annotations often utilize this layer as well.
- Fine solid line: used for thread or section indications; line cut break. Typically matches the thickness of the center line.
- Two-dash line: used for reference lines, with thickness matching the center line.
- Other layer types.
Note: For Icad software, line thickness is categorized into three types: large, medium, and small thicknesses. If there are no indications from the customer, only medium and small thicknesses should be used. Medium thickness is for the outer contour, while small thickness is used for other elements.
3.4. Projection Angles, View Arrangement, and Dimension Origin
*Projection Angles: Unlike Vietnamese standards, the projection angles according to JIS standards originate from the third projection point.

*View Arrangement in the Drawing
The priority order from ① to ⑤Typically in detail drawings and assembly drawings, views are primarily arranged from ① to ② (Main view ①, top view, right side view). Other arrangement rules may include:
- Based on the directions indicated in the assembly drawing
- Following machining rules

When arranging views in the drawing, choose an appropriate layout based on the specific case. The drawing must be clear, readable, and avoid confusion.
*Basic Rules for Arranging Views of Certain Components
Round cylindrical components should be arranged horizontally, with the most machined area placed to the right (arranged according to machining rules).

Long components should also be arranged horizontally.

*Other Component Types.
Frame: Arrange according to real working orientation, with the bottom showing the ground level.

Bracket, bending plate

*Basic Standards
- Standards for threaded holes, smooth holes, stepped holes, conical holes.
- Standards for other accessories
The next section will guide the detailed steps for creating detail drawings. Stay tuned!